Showing posts with label sewing. Show all posts

Monday, April 15, 2019

Tax Season 2019 Projects


My 42nd tax season (yikes!) is in the books.  It’s been a tougher than usual one this year; our partner retired so we took over most of his accounts and the additional workload, we had a major tax law to learn, explain to our clients, as well as the changes it made to our tax software.  We had to put down my beloved 16-year old cocker spaniel, Harley, on March 19.  It’s just been a rough tax season but we have made it through another one!

I haven’t had a day off since February 4, literally worked seven days a week, long hours. I’ve done just basic cooking, no baking, and I’m behind on keeping up with the weeds. The laundry, thankfully, is not behind! The tendency is to come home from work and just crawl into bed.  But, that’s so unproductive! In the past I tried to keep up with my cross stitching and did a lot of reading.

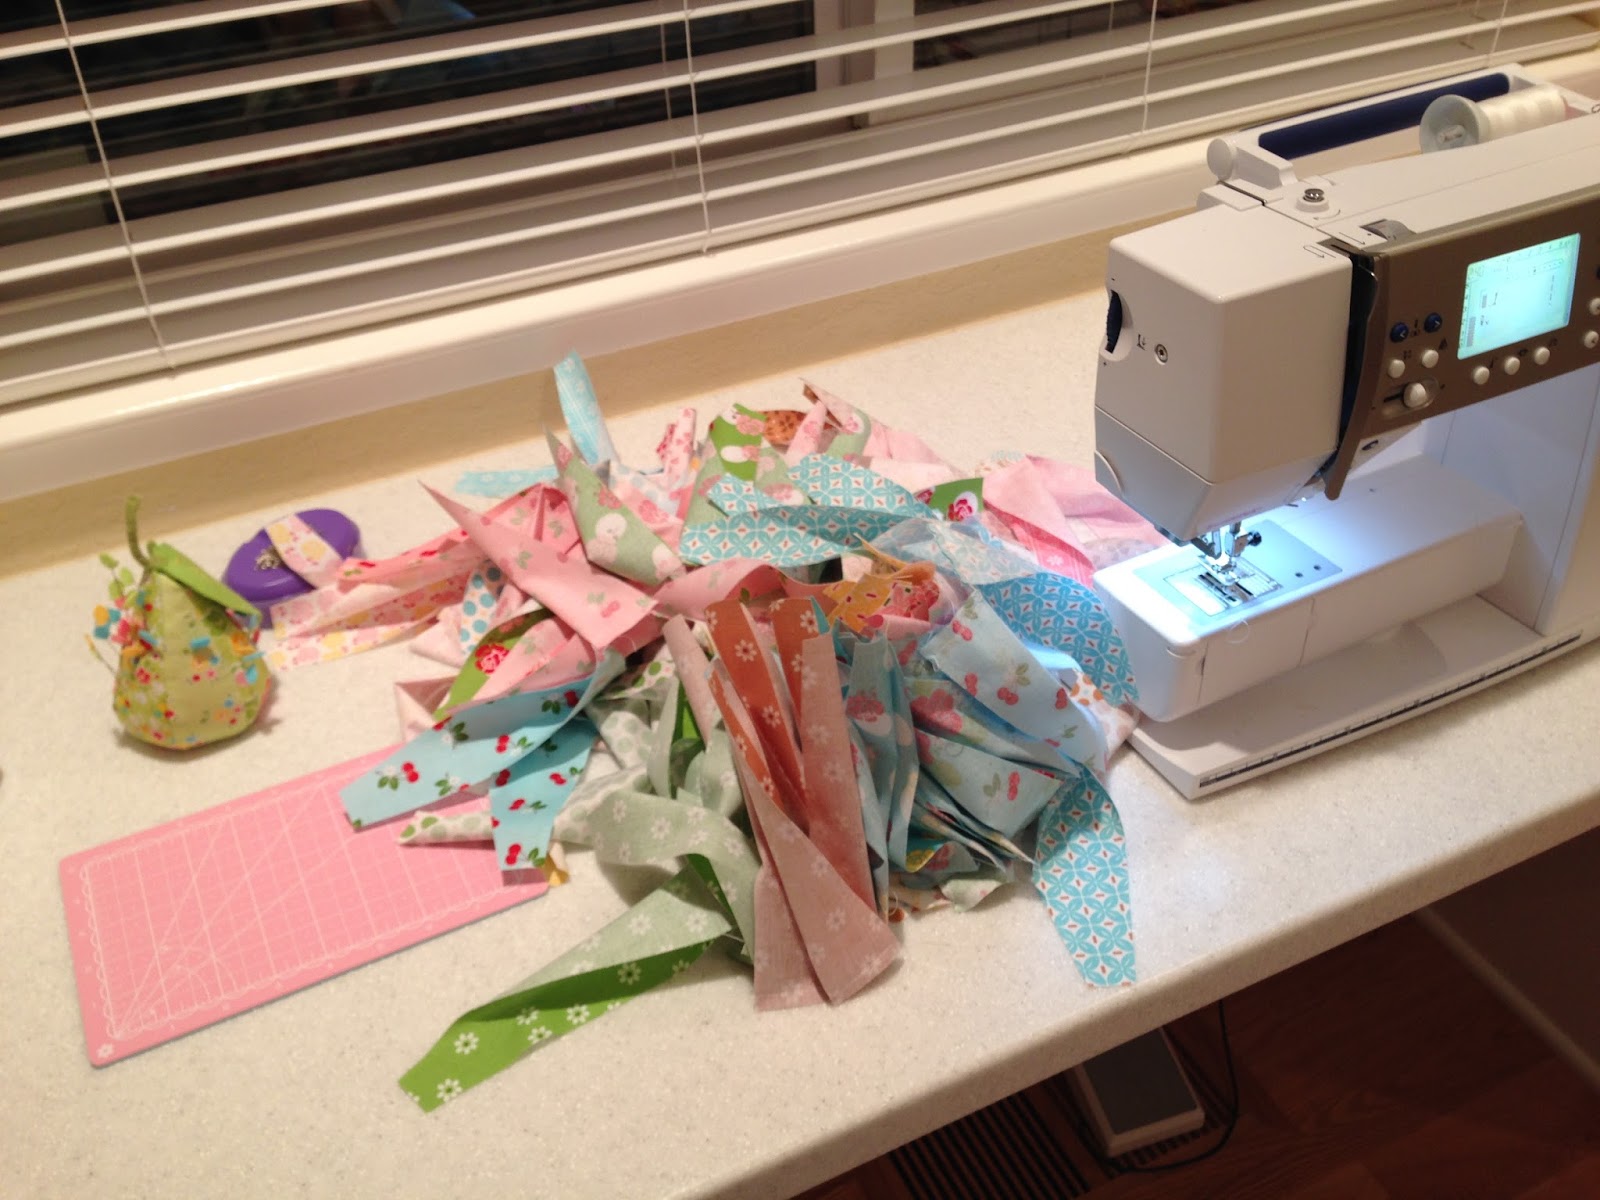
Four years ago I decided to learn how to quilt with an online weekly sew-along.  It started in January and I found it to be a great stress relief from the daily grind of dealing with numbers.  Sewing, even a few minutes a night, was a great way to unwind.  My first quilt was a success and I was hooked on the hobby!  The second and third year I did a sew-along with the same instructor but they were appliqued quilts.  By the end I was pretty much over applique. In 2018 I got ambitious and did a quilt of pieced birds. In retrospect, it was over my skill level but I persevered and finished, though not until June.

This tax season I picked a much easier quilt, just some squares and rectangles to sew together in a cross tile pattern.  My goal was to finish the 20 blocks by April 15.  I finished those mid-March. 


My buddy, he was always "helping" me. This was a few nights before he passed.
 
I also joined a mystery block of the month club whereby material and pattern for that month’s block(s) arrive about the first of the month.  I’m loving the colors and designs of the fabric but the blocks are quite detailed, lots of points and half-square triangles. It’s testing my novice piecing skills.  I’ve not started April’s blocks yet but the fabric is ready to be cut out.  I still have two weeks of April left!


This quilted flower and pitcher has me so intimidated but I will jump in!
A few weeks ago another blog started a project doing a two-color quilt using instructions from a book I already had.  Yes, I caved and am now doing that sew-along (I already have it ear-marked for a birthday gift later this year).  I am on schedule, finished the second block yesterday.  The third block will be released on Thursday.
 
 
Though I wasn't home much the past three months I feel very accomplished in all I was able to get done creatively.  I can't wait to get back in the kitchen, especially to bake some goodies.  My hands long to feel some dirt instead of a computer keyboard. It's good to have free time once more!


Wednesday, February 1, 2017

Sweetie Pie Quilt Sew-Along

Last year I joined an online sew-along and made a quilt.  Each week we got new instructions, along with videos and pictures, to help us along in the process.  It started mid-January and finished mid-June.  It was a nice, easy pace and, even though a big part of it was during tax season, I managed to finish my quilt top on time.  It actually ended up being a good de-stresser for me; something to concentrate on other than numbers.

Since then I've made two more quilts with not too many disasters. My quilting confidence fairly high, I signed up for the same instructor's sew-along for this year. We are making a Dresden block quilt, she calls the blocks in this quilt "pies".  Each one has an appliqued fruit center (i.e. cherry pie, apple pie, etc.) I bought all the fabric and supplies, cut everything out (which was a huge undertaking as there are 144 little pieces just for the Dresdens, not to mention all the other pieces of the quilt!) Week one began and the first week's tasks were monumental!  We had to sew each Dresden piece into its pointed shape, then sew 16 together to get our circle, and applique those onto a 17x17-inch piece of fabric. Multiply that work by 12 blocks! Yikes!  Not only that, but I discovered that the sew-along will finish mid-March. (Obviously the instructor doesn't know this is corporation tax deadline time!) Based on what remains to be done, I now know that each week's list of tasks will be a lot.  I know I won't be able to keep up while working 7 days a week!  At first I felt pressured that I would have to make it work.  After a few days I told myself that this isn't a race; the goal is to enjoy the process, learn new skills, and have a beautiful quilt in the end!  My quilt top probably won't be done in March but I'll keep working on it until it is done!

I have the first two Dresdens ("pies") completed.  The remaining 10 Dresdens are awaiting their appliqued centers.  I have started sewing the petals for the 20 flower blocks that will also be in the quilt. So far, I am keeping up but I know that will change soon!

2 out of 12 blocks done!  The apples are for another quilt which is on the back burner for now!

All the quilt pieces are cut and waiting!

Chain-piecing 144 Dresden/pie pieces.


Getting the placement the way I want it before sewing the 16 pieces to make a circle.

Each fruit appliqued center also has some embroidery work in it.

Hopefully, my finished quilt will look like this!

Wednesday, July 27, 2016

What Would Grandma Do?

I first began sewing when I was a young girl, starting with Barbie doll outfits (why I started with them is beyond me, all those teeny, tiny pieces of fabric!) Mom & Grandma led the way in teaching me but Grandma was the taskmaster. Mom & I would practically quake in our shoes any time we gave her an item to inspect.  Grandma was an excellent seamstress and a sewing perfectionist. What I thought was a decent job wasn't to her and she would tell me to rip it out and start over. It was a happy day when I didn't have to rip anything out, that was praise enough! Of course, over the years, Grandma's lessons have stuck with me.  Now when I sew I look at my piece and question if Grandma would approve.  If not, I usually end up ripping it out and starting over!
I'm working on a quilt, my second pieced quilt.  I have all 12 blocks done and sewn together, along with sashing.  Now I'm working on the outer border.  Twice I've messed up in measuring.  I ripped it out once and started over. I sewed it again and it's not quite right.  The impatient part of me says to leave it, no one would know but me.  But Grandma lives in my sewing conscience.  I'm ripping again! And I know she's proud.

Those of you that sew, know a seam ripper is one of the most used sewing tools! I always have mine close by!

Sunday, February 21, 2016

Bloom Quilt Update

Six weeks ago I began participating in an online sew-along to make an appliqued quilt. Each week the instructor shares the instructions for another block. The finished quilt will consist of 20 different blocks. The instructions for block six will be released tomorrow, I finished block five yesterday.  Slowly, but surely, I am keeping up, even with my crazy tax season schedule!
I have now sewn the first four blocks together to make the first row of the quilt. My photography doesn't quite capture how bright and colorful the fabrics are, it's going to be a very cheery quilt!
This is my favorite block, so far, just love the colors in this one and the shape of the leaves. All the flowers and leaves of the blocks are made by using a plastic template to make the shape.  More information about the sew-along can be found here.
We are working seven days a week now, long days, lots of stress.  This quilt project has been a nice little diversion for me.  I try to do a little each night, to keep making progress, and decompress my brain some.  We have seven more weeks of tax season.  If I stay on track my quilt will be over half done by then!

Wednesday, January 20, 2016

Bloom Sew Along

I've sewn since I was a little girl, following in my Grandma & Mom's footsteps.  First it was little Barbie outfits.  In high school I made a lot of my pants and my prom dress.  After I had children I made many Halloween costumes and dresses. I never imagined I would be making quilts.  

My friend, Bernice, first convinced me to try quilting by teaching me how to make a rag quilt.  Easy, not fussy, I liked it.  Then she moved me up to making a jelly roll quilt. Again, pretty easy, no cutting of little pieces. As I perused websites looking at fabric I begin to fall in love with many of the quilts.  I thought to myself that surely I can do this, I'm not stupid.  So, I jumped in headfirst and began making a country quilt with various blocks of different designs, such as a teapot, barn, milk pail.  That has been slow going; a lot of cutting itty bitty pieces of fabric, the holidays, a little travel. I've gotten bogged down, a time or two, and had to run to Bernice for rescue.  I've only completed 3 blocks of that quilt and I've jumped into another one.

Why? There is an online sew along to make a "Bloom" quilt.  Each week the instructor guides us through one block. It started this week and will go through the middle of June. At times I wonder if I'm a blooming (yes, that was a play on words!) idiot to start this as I'm also beginning another tax season. I don't have time to sew this time of year! What am I thinking?  I'm hoping I can do a little each night, that it will be something, besides numbers, to keep the stress at bay.  Time will tell how that goes but I have completed the first block! It's so cute!

Each of the 20 blocks on the quilt are appliqued using templates as a guide.  I spent 2 afternoons cutting out all the fabric so I would have that task behind me.  If all goes well my completed quilt will look like this. 
More information about the quilt and the sew along can be found on this website.

In the meantime my three farmhouse blocks are hanging on my design board, waiting.  I don't think I'll get any more work done on this quilt until after April 15!

Monday, November 9, 2015

Pocket Mattress Runner

Something they want, Something they need,
Something to wear, Something to read.

Last year I ran across this gift giving guide and immediately implemented it in regards to Christmas shopping for my grandchildren.  Having a theme kept me very focused with my shopping and, as they were all getting similar items, I avoided (hopefully!) jealousy issues between the kids. I’m doing the same this year.


For the “something to read” gift, this year the granddaughters are getting a package with a Barnes & Noble gift card, a new book for their reading level, and a small clip-on reading light. In addition, I made each of them a pocket mattress runner.  The pocketed runner goes between the two mattresses and hangs down the side of the bed.  They can keep their current reading book there, a small stuffed animal, diary, etc.


To make the runners (my girls have twin-size beds), I cut felt 55” long and 15” wide.  I appliqued a flower on one end and folded up 8”, then stitched closed with a ¼" seam. To add a little more decoration, I used my pinking shears along the cut edges.  I wish I would’ve added some rick rack across the top of the pocket, but too late for that now! An additional pocket could easily be placed on top of the big pocket so there are two places to stash things.

They didn’t take long to make and will be a cute addition to their Christmas gift!  Felt is inexpensive so these weren't costly to make.  If the girls end up using them a lot (felt isn't the most durable fabric!), I will make the next ones with some quilted fabric and bind the edges.

I am linking up to Inspire Me Tuesday.


Friday, November 6, 2015

Sewing Advice

This is from a Singer sewing machine manual in 1949:

Prepare yourself mentally for sewing.  Think about what you are going to do. Never approach sewing with a sigh or lackadaisically.  Good results are difficult when indifference predominates.

Never try to sew with a sink full of dirty dishes or beds unmade. When there are urgent housekeeping chores, do those first so your mind is free to enjoy your sewing. When you sew, make yourself as attractive as possible. Put on a clean dress.  Keep a little bag full of French chalk near your sewing machine to dust your fingers at intervals. Have your hair in order, powder and lipstick put on.  If you are constantly fearful that a visitor will drop in or your husband will come home, and you will not look neatly put together, you will not enjoy your sewing.

Well, all I have to say is it is a good thing we are not in 1949! While I confess to making sure the bulk of my household chores are done before sewing (ask anyone, I'm uptight about my housekeeping!), I sure don't worry about my dress, hair, or lipstick! Heck, I spend many an hour at my sewing machine, unshowered, and in my pj's!  My poor Hubby, the things he has to witness!

I have been spending a lot of time in my sewing/craft room lately. I've made a few pillows and mattress pocket runners. Now I'm getting ready to jump in, feet first, into the world of quilting.  With the exception of some rag and jelly quilts, neither of which require any piecing techniques, I've done no quilting. But I've fallen in love with this quilting book, have all my materials and scraps of fabric ready to go.

If you come by my house you can expect to find me in my special room, knee-deep in fabric and thread, probably with a puzzled expression on my face, as I attempt to learn to make small pieces of fabric come together in a colorful quilt block.  What you won't find is me with perfect hair and makeup or in a nice dress! And what is French chalk anyway? Aren't you glad we aren't in 1949 anymore?


Wednesday, October 28, 2015

No-Sew Burlap Table Runner

I had a monogrammed burlap table runner that I made a few years ago.  Last year we spilled red wine on it (oops!) and I couldn't get the stain out.  I wanted another burlap runner to complement my fall decorating, but didn't want to take the time to sew one. While watching football a few weeks back I whipped this one out.  I like how it turned out; it's a little rustic but softened up a bit with the satin ribbon.

I've gotten frustrated in the past while working with burlap.  It's a very loose-weave fabric and frays as it's being looked at, I think! It's hard to get a straight cut. The clerk at the fabric store enlightened me to a neat trick as she was cutting the fabric for me. She ripped out one of the threads, then used that as the cutting line. Well, how nifty is that?!!
To make this runner I measured how wide and long I wanted it to be.  I identified the thread that was closest to the point of measurement. I followed that thread to the raw end of the fabric and tugged at the thread.  I then gently pulled the thread, holding on to the fabric, so that the thread slid out of the burlap.  That became my cutting line. 

To make the space for the ribbon I marked where I wanted the ribbon to go and how wide the opening needed to be.  I pulled out enough threads so that the ribbon would fit. 
After that it was a matter of weaving the ribbon in and out of the fabric (I went every 5 threads).  To make it easier to weave, I attached a safety pin to the end of the ribbon. 
This is easily a no-sew project.  As the burlap does fray so easily, I ran a quick zig-zag stitch about one-inch in to limit the amount of fray.
I found the most beautiful tulips at the flower mart!

Monday, November 17, 2014

Dresden Plate Pillow

The Dresden plate quilt pattern was very popular in the 1920’s and 30’s. It is also know by names such as Grandmother’s sunburst, sunflower, and friendship ring. There are usually 12 or more “petals” that are sewn together, radiating from a central circle, and then appliqued onto a block of fabric. They often look like flowers, hence the many garden names. The "petals" may be smooth at the outer edge of the circle or shaped into arcs or points, or a combination. The center of the Dresden can be plain, embroidered, decorated with trim, yo-yo's or doilies. It's a very versatile and creative pattern.
I have a Dresden plate quilt made by my Grandma over 20 years ago.  It's gotten rather threadbare so it no longer resides on a bed. I've always loved the pattern and when she offered to make me a quilt that was my request. When Grandma made a quilt she had to make a paper pattern, trace out the pattern onto the fabric, then cut out each piece.  This was all very time consuming, of course. Modern quilters have it much easier.  There are rulers and circle guides, rotary cutters and cutting mats of all shapes and sizes. It never occurred to me to make a Dresden plate, I'm not a quilter (though I'm thinking I should attempt one!) but then I saw this tutorial and she made it look so easy.  I ordered the two rulers and got to work. It was much easier than I thought it would be.  Who knew?!!
My first Dresden plate went on a pillow for my sister's birthday. I embellished the center of the Dresden with ric rac trim and added piping to the pillow. Now it's time to repeat the process and make one for me!

I'm linking up to Inspire Me Tuesday.

Saturday, November 8, 2014

It's All About The Mouse...and Baby, Too!

My daughter-in-love was the guest of honor at a cute baby shower, Mickey Mouse style.  She is a huge Disney fan so the shower theme was very appropriate for her.
Once I knew the theme my mind went into overdrive thinking of Mickey Mouse baby things I could make.  First up was a bib in Mickey colors. I used a yellow terrycloth towel for the back of the bib, should be very durable for the little one.
On Etsy I found these "month" stickers.  I love the pictures that show a baby every month for the first year. What a special way to chronicle how fast they grow!
Finally, I made our little Jakey a quilt.  I am not much of a quilter so a rag quilt is about as good as it's going to get from me!  I love them, though, they are soft and durable.  My "Stitch 'n Bitch" friend, Linda, graciously did the machine embroidery of the Mickey Mouse silhouette and Jacob's name in the Disney-style font.  It made a simple quilt a little more special, I think!


My daughter-in-love was blessed to have three baby showers. I don't think there is anything major that they need to set up babykeeping, just the baby.  Another 5-6 weeks and he will be here! I know the time will fly by and we will soon be taking him to see Mickey Mouse!

Sunday, October 26, 2014

Stitching for Jakey!

Ever since I knew we were getting another grandchild, and that it would be a boy, I've been sewing and cross stitching. Making things for a little boy has been a new adventure for me, we have three granddaughters.  Since their births I've been sewing dresses and ballet bags, using a lot of pink. But I can adapt easily and have managed to do some cute things for our little guy.

My son is a big New England Patriots fan. Now our family has always been into football but we've always been San Francisco Forty-Niners fans. Our Sundays revolve around football. My son fell in love with Drew Bledsoe and the Patriots in the 90's and he hasn't looked back. I can roll with it, at least it's not the Dallas Cowboys! I made Jakey this little blanket out of brown minky material, very soft and cuddly.  The other side has Patriots fabric.
I sewed a few bibs.  My daughter-in-love is a school teacher so a few of the fabrics were a nod to her profession.  The jeans bib was made out of a pair of old jeans I still had hanging in the closet (I hate clothes shopping, as a result I wear my clothes for a long time!) I have a picture of me wearing them, the first weekend I had them, at a race in Canada that my son was also driving at.  He had a very hairy ride on one run, doing a big wheelstand and getting out-of-shape.  It was an anxious moment for his mom. I guess there was a reason I was saving the jeans all these years, now little Jakey has a bib from them!
I first learned to do counted cross stitch when I was pregnant with my son. Over the years, I've stitched at sports and dance practices, racetracks, in the front yard while the kids rode their bikes. I always have a project in process and it always travels with me. This stitched piece didn't take long to do and I hope it's something that Jakey will always have to remember his Nana by.  The buttons used on the piece came from my Grandma's button box, which my Mom has.
There is one more baby shower to honor my daughter-in-love, to be held in two weeks.  Its theme is Mickey Mouse. I'm sure you can imagine the type of fabric that has been flying around in my craft room lately!

Friday, August 1, 2014

Bandana Dress

I first began making bandana dresses when my oldest granddaughter was four.  She turned nine in May.  My youngest granddaughter will be four in a month. In between, we have a six year old. Can we slow down the clock, please! The dresses are very easy to make and only involve two items; a knit top (any type of sleeve) and two bandanas. The girls love them as they are very comfortable.  Most girls love to twirl around and the way the bandanas are offset on these dresses provides plenty of twirling activity!
Hobby and fabric stores have a wide variety of bandana options, very easy to find a pattern for the little girl in your life. (Has anyone seen any San Francisco 49ers bandanas? I need some!) The dresses are inexpensive to make, for less than $10 you have a dress that is not only cute but very durable.

Earlier this year I purchased a Silhouette Cameo digital cutting machine. The applique on the top of the dress was my first attempt at using the machine to cut fabric. I have a lot to learn, especially with sizing the various pieces of the applique, but it went pretty well for the first time. I wish I would have used a darker yellow for the bee body but didn't have anything appropriate in my fabric stash.


I bought the pdf pattern from this site. With the pattern is a template for cutting the opening of the bandanas so they will fit the width of the top. Basically, you measure the width of the top, correspond that measurement to the template and cut accordingly. It's a very easy and effective way to get an accurate cut.


After that it's just a matter of arranging the bandanas to get the proper hem effect and sewing the bandana to the top. The dresses take no time to make!

Wednesday, June 11, 2014

Glampers for Robin!

A glamper is a person who engages in the act of glamping. Glamping is a blending of the words glamorous and camping.  Basically, it's camping with many of the modern conveniences and amenities.  Personally, that's my way of camping, too.  If we don't have full hook-ups when we're out RV'ing then I'm definitely roughing it!!

My cousin, Robin, is refurbishing an old travel trailer and turning it into her own "glamper". She's very industrious and crafty so she is doing most of the work herself.  She's painted cabinets, put on new counter tops, refinished cushions, made curtains and pillows. I don't think she's taken her glamper out yet for a trip but I do know that she is enjoying the refurbishment process. For Christmas she even got a new awning!


I ran across this glamper pincushion tutorial a few months back and knew I needed to make it for Robin.  She sews and crochets so I knew it would be useful for her. When she can't be out on the road she can be reminded of her little glamper!