Monday, June 24, 2013

Beach Week Crafting

My hubby and I recently rented a house in the beach community of Aptos. During the course of the week, our three children, daughter-in-law and three granddaughters were able to join us. Knowing we couldn't be on the beach 24/7 I packed a few crafting projects that we did in the mornings. It helped fill up our days and keep boredom at bay for an 8, 5 and almost 3 year old. Many of the craft ideas were Pinterest-inspired.  Love that site!

Of course, we did the normal beach activities and made many a sand castle and moat!


We made handprint crab t-shirts.  This involved an adult per child as painting red paint on little hands can be quite messy!  To do this, paint one hand (quite heavily) with red paint. Place on t-shirt with thumb facing toward neck of the t-shirt.  Wash hand and apply red paint to the other hand.  Slightly overlapping the palm, repeat the step. Once they were dry I glued eyes and made a smile with a marker.


A few days later we wore them on our trip to the Monterey Bay Aquarium!


Another morning we made caterpillar refrigerator magnets.  I bought a few packages of small pom poms, regular clothespins and pipe cleaners.  The girls glued in various color combinations.  When done we glued a magnet to the back of the clothespins. They each had enough to keep at their homes and some to give away to their other grandparents.


We painted rocks to look like ladybugs and bumblebees, making a tic-tac-toe set. The girls had fun painting them and later playing the game!


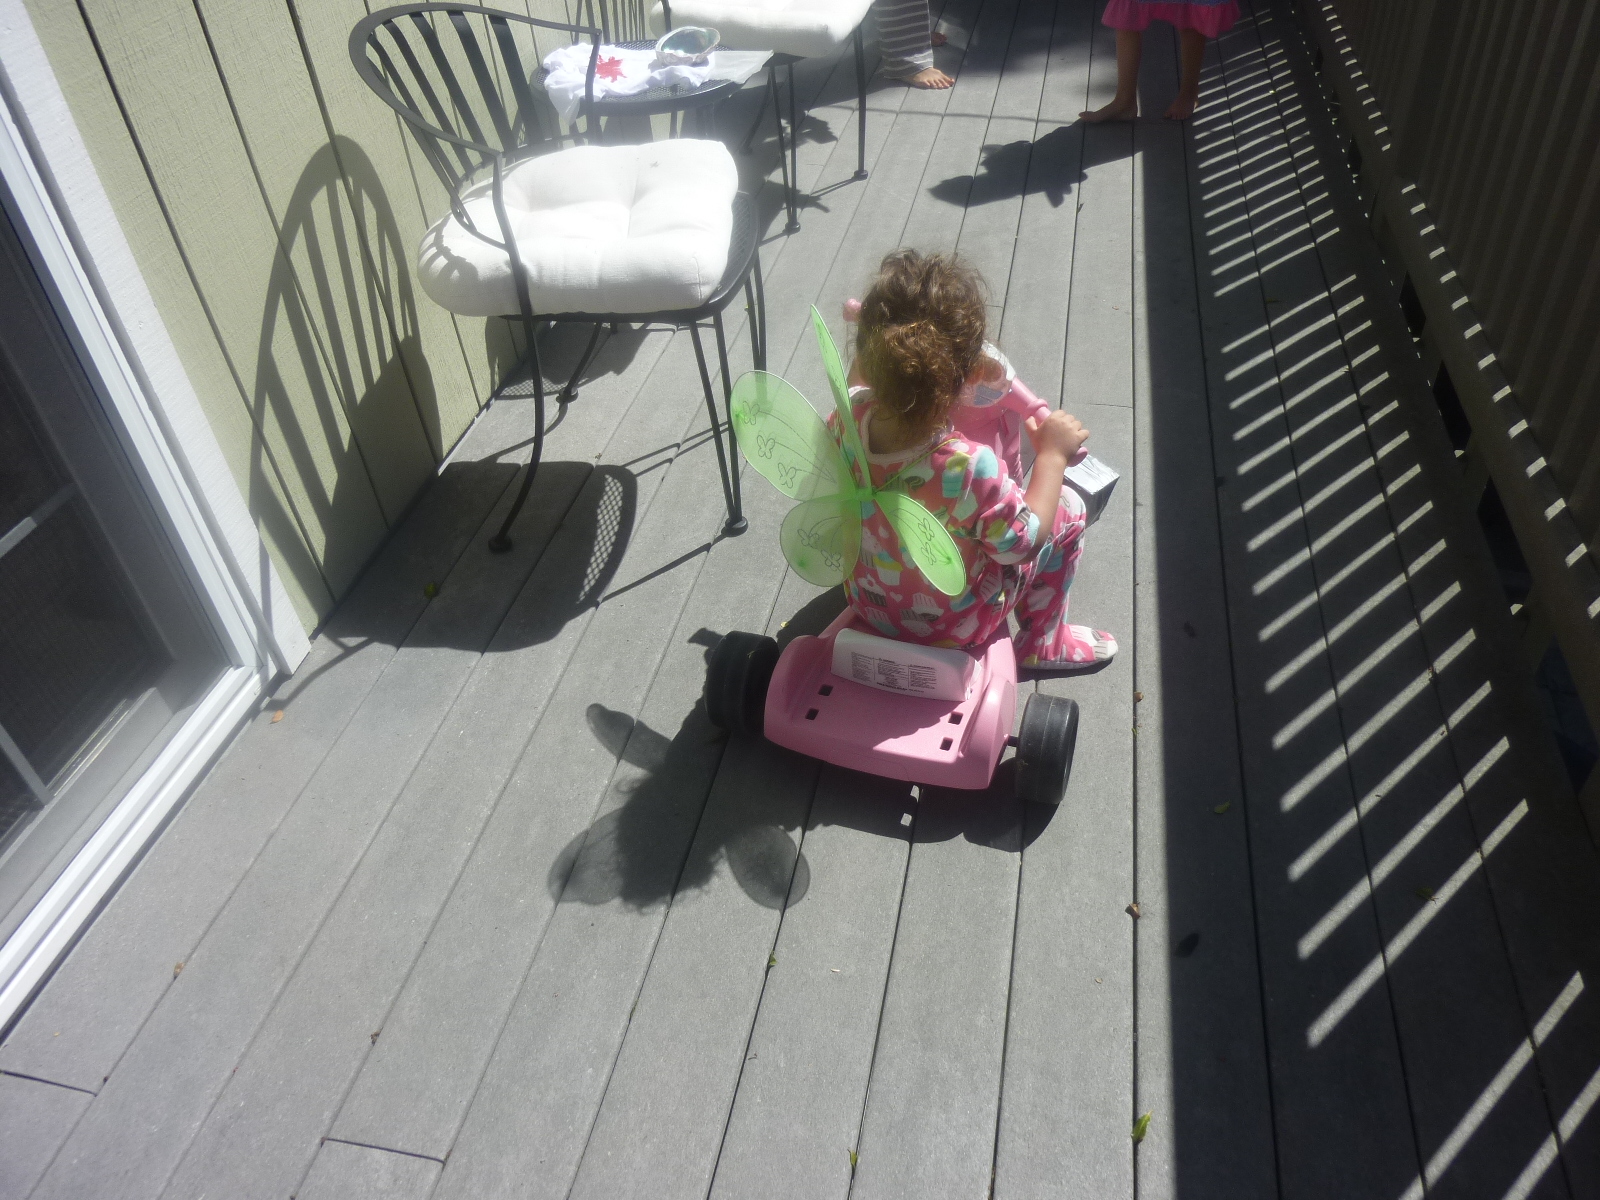
I combined fairy wings and jump ropes so that they looked like butterflies. The girls spent a lot of time on the deck playing with these.


The girls were quite proud of their creations and I enjoyed our crafting time together. And all the adults enjoyed not having bored, whiny kids around! Ha ha!

Join me at Inspire me Tuesday!

Thursday, June 20, 2013

Apricot Pie ( and no more apricots in my house!)

When I was a freshman in high school the summer job, for most of us that age, was working in the apricot drying yard. We would stand all day, in the heat, cutting, pitting and laying out on drying trays, boxes and boxes of apricots. I lasted two days. Right then and there I knew I wasn't cut out for a life of manual labor. I got me an office job at the local frozen food plant and I've not worked without air conditioning since!

I had recollections of my brief dry yard experience this week.  One of our clients gave us a box of just-picked apricots.  I've been cutting and processing the orange fruit all week now. Earlier in the week I made 24 jars of apricot jam. Today I baked an apricot pie and made pie filling for the freezer. I had a small bowl of apricots left over which I gave to my next-door neighbor.  I'm tired of looking at apricots right now!

Apricot pies are rather easy, don't require many ingredients. But don't let the simplicity fool you, they are so good. A little tart, a little sweet and really good with a scoop of  vanilla ice cream!


Fresh Apricot Pie

Pastry for 2-crust pie
5 1/2 cups sliced fresh apricots (about 2 pounds)
1 cup sugar
1/2 cup flour
1 tablespoon lemon juice (optional)
2 tablespoons unsalted butter, cut into small pieces

Preheat oven to 375 degrees.

Line pie plate with pie dough.

In a large bowl, combine apricots, sugar and flour (and lemon juice, if using); toss gently then spoon into crust and dot with butter.

Cover with top pie dough, seal, crimp edges and make slits in crust.

Place pie on foil-lined baking sheet and bake 50 to 60 minutes, or until crust is golden and juices are bubbling.

Tip:  For added flavor, sprinkle cinnamon-sugar over the pie crust just before baking.

I keep a container of cinnamon sugar in my pantry at all times.  Sprinkling over a pie crust is just one of its uses!


When making fruit pies I often make an extra batch or two of filling to freeze.  I already have a mess in the kitchen so it just involves a little more cutting. The reward is going to the freezer in the middle of winter, getting the pie filling and baking a fresh fruit pie!

To do so I put the fruit filling in a freezer ziploc bag, getting as much air out as possible (a Food Saver works great for this, too!) This is when I usually use lemon juice as it helps to keep the fruit from browning.  I then arrange in a pie pan (the same size you will use to bake the pie in) and freeze.  Once frozen, I remove the pie pan and stack the pie filling "discs" in the freezer.  When I'm ready to bake a pie I insert the frozen pie disc into the prepared pie dough.  Because they are frozen it may take a little longer for the pie to bake.

I'm linking up at Foodie Friday!

Wednesday, June 19, 2013

Snippets from the Garden

We've only had a few really warm days here so the garden is doing very well this summer.

This is a crimson mandevilla.  It's in our front courtyard.

 The hydrangea is full of large blossoms!


Butterfly bush, Shasta daisies in the background.


While in the garden one should always take time to smell the roses. This one has a lovely apricot hue.


Every year I plant some sunflowers, the mammoth size.  It's fun to watch how much they grow in a day!  In the fall the birds hang all over the plants, stripping them of their seeds. It's nice to know we help to nourish the bird population.


Cone flower (Ecchinecea).


This spring we planted a pomegranate tree.  It's loaded with the growing fruit. I will make pomegranate jelly this fall.


A gerbera daisy, so simple yet so pretty.


Love my hummingbirds!  So many of my flowers were planted for the sole purpose of attracting and sustaining these delightful birds.


I tried to get a picture of a hummer in this lily but it flew away before I could capture the moment!


Hope you are making some time to enjoy your garden, too!


Sunday, June 16, 2013

The Heart Of Our Home

We've lived in our house 29 years now. It's served us well, we raised our family here. But we never really shopped for our house.  It kind of fell in our lap. Our boss was retiring, it was in the mid-80's, real estate prices had plummeted and mortgage rates were sky-high.  He wanted a smaller home, we wanted a larger home and neither of us were finding buyers.  One night he took us to dinner, said "let's trade homes, I'll carry the mortgage so you can afford it."  So 15 days later we moved! It wasn't our dream house but how could we refuse an offer like that?

Over the years we've made many modifications, trying to make it more our style and to fit our lifestyle (we are very casual).  We  did one kitchen remodel (got rid of the washer & dryer that was in the kitchen, ugly cabinets & linoleum!) about 20 years ago. But we wanted a more open floor plan, my hubby wanted more garage space or a shop, I wanted a garden and fruit trees. So we began looking but couldn't find anything we really loved.  Then we got the notion that we should build and bought 8 1/2 acres of land in my old hometown. Buyer's remorse later set in and the thought of commuting each day, the upkeep of the land and the cost of building, landscaping, etc. was more than we wanted to tackle at this stage in our life. Anyone want to buy 8 1/2 acres of prime farm land? We'll make you a heck of a deal!
We love our neighborhood, it's quiet and we have wonderful neighbors.  So we contacted our architect to see what we could do to expand the kitchen area, make the home more open. Between planning and construction it was a two-year process, the construction being nine months (we pretty much gutted the house and it was not always fun!) The end justifies the means and we love our "new" home.

We knocked down the wall between the kitchen and formal dining room as well as the outside east wall of the home and raised the ceiling to nine feet high.  Using the footprint of an existing patio we were able to add about 120 square feet to the home and now have one large room that we virtually live in. My husband (who did not get his additional garage space, yes, he is a Saint!) gave me free rein to build the kitchen of my dreams. It's been six years since our remodel and I still wouldn't change a thing (however, if I win the Lottery and build my ultimate dream home on the beach, I would add a lot of things!  Ha!)

Before the remodel, I was isolated in the kitchen.  When we had gatherings everyone would gravitate in there and it would be hard to move around. The oven and island were so close to each other that I would have to stand to the side of the oven to get baked goods out. We used our formal dining room once or twice a year.  Other than that, it was used to get from the living room to the kitchen. We couldn't see the backyard through the kitchen, always a concern when you have a swimming pool.

Now our kitchen and dining area are wide open with great views of the yard.  My husband can sit at our island and talk to me while I cook and he's no longer in my way! I have tons of space, storage and all the amenities I wanted. We spend so much time in here now. We can fit all our family in here instead of having tables spread from room-to-room. It was worth all the hassle.

Here are some before and after shots:

This is the view from our living room looking into the dining room.  You can see we had a "sunken" living room.  That floor has been raised and we now have level, all wood floors. The door on the far wall led to a side patio.  That wall was knocked down and rebuilt at the edge of the patio footprint. The wall on the left was shared with the kitchen.  That wall, too, was eliminated.
Here's that same view today.  Eliminating a 120 square foot patio and knocking out a few walls made a ton of difference!
Another view of the shared kitchen wall.  You can see how isolated the kitchen was from the living area of the home.


The view today.  Much more open!  The island is 8 foot long, plenty of room for all my cooking endeavors! When I told my hubby the island was going to be red he thought I had gone crazy (or crazier?).  He loves it now.


This window overlooked the side patio. To the right of the small pantry is the entrance to the dining room.

This area is where the patio was.
This was the dining room window.  We could not see out this window if we were in the kitchen. This entire wall was knocked down and replaced with a 12' french slider and two hutches.
We have a much nicer view today. I can be anywhere in the kitchen and see outside.  And when I open all the doors I get such a nice breeze blowing through!

The area where our kitchen table resided is now our oven and refrigerator wall.

The same wall today.  You can also see how the combined room now blends in with the adjoining living room. No more sunken living room, either!  We are preparing for our "golden years" and our walkers, wheelchairs, etc. I sure hope that doesn't happen!

My husband swears I designed my kitchen around the farmhouse sink.  He may be partially correct.

 The only amenity my hubby asked for in the kitchen (he got his way in some of the other rooms!) was a wine fridge. I've noticed we drink more wine now.  I'm not sure if it's because the fridge keeps the wine at a nice temperature or that we no longer have kids living at home! 
Some of my cookbooks.  I have many more in a closet. A woman can never have too many cookbooks! I use the prep sink  and butcher block nightly; it's very convenient to the stove area.
Tucked in the corner is my appliance garage. I don't like a lot of things on my counters so like the appliances tucked away.  The doors fold back so I can work on the counter there or move the appliances elsewhere. There are electrical outlets in the garage.


 The household message area. Behind the cabinet doors are office supplies, phone books, key holders, etc.
My Grandma used to have a plaque in her kitchen that said "no matter where I serve my guests, it seems they like my kitchen best". My kitchen is definately the room I like the best!


I'm sharing our changes at Metamorphosis Monday.

Thursday, June 13, 2013

Caribbean Chicken Salad on a Busy Night!

We have a very busy week going on here. We leave this weekend for vacation so lots of last minute things to do. But when a client brings you a box of apricots you just have to put things aside and get to work!


After going to Pilates at 5:30 a.m. and working a full day it's overwhelming to think of making jam and dinner. So, on nights like this, dinner must be easy. We love a good chicken salad. My hubby could eat a chicken caesar salad every day of the week but I am quickly bored by repetitive meals. Chili's restaurant has a grilled chicken Caribbean salad on their menu. It's changed over the years but the basic salad is the same as this copycat recipe I've been using for a while now. It's easy to put together and my hubby grilled the chicken while I cleaned my kitchen of the apricot jam mess. I especially like the dressing, the addition of the sesame oil gives it such a nice flavor. It was a dinner without much fuss, hardly any mess to clean up and one that was pretty healthy for us!


CHILI’S GRILLED CARIBBEAN CHICKEN SALAD
4 boneless, skinless chicken breast halves
½ cup teriyaki marinade (store bought or homemade)
4 cups chopped iceberg lettuce **
4 cups chopped green leaf lettuce **
1 cup chopped red cabbage **
5.5 oz. can pineapple tidbits in juice, drained
10.4 oz. can mandarin oranges, drained
Tortilla chips, broken into small pieces

PICO DE GALLO:
2 medium tomatoes, diced
½ cup diced onion
2 teaspoons chopped fresh jalapeno pepper, seeded and de-ribbed
2 teaspoons finely minced fresh cilantro
Pinch of salt

Combine all ingredients in a small bowl. Cover and chill.

HONEY LIME DRESSING:
¼ cup Grey Poupon dijon mustard
¼ cup honey
1 ½ tablespoons sugar
1 tablespoon sesame oil
1 ½ tablespoon apple cider vinegar
1 ½ teaspoons lime juice

Blend all the ingredients in a small bowl with a whisk; cover and chill.

Marinate the chicken in the teriyaki for at least two hours. Preheat outdoor or indoor grill. Grill the chicken for 4-5 minutes per side or until done.

Toss the lettuces and cabbage together.

To serve, pour pico de gallo over the bowl of greens. Sprinkle pineapple and oranges on salad. Sprinkle broken tortilla chips on salad. Slice the grilled chicken into thin strips and place on salad. Serve salad with dressing. (Note: salad may be divided into individual servings.)

** Or use packaged lettuce mix.

I've made 24 jars of jam and still have half a box of apricots to deal with. Tomorrow night I'll make apricot pie filling for the freezer!
It's Foodie Friday!