Grandma always made homemade rolls for all our family celebrations. I don't recall that we ever had anything other than homemade! When the time came that she was no longer able to do that activity, Mom took over the duty. It's amazing we had any rolls by dinner because she would be swarmed the minute she walked through the door, everyone wanting a freshly-made warm roll! But, there always seemed to be enough!
Mom now has health issues and is unable to bake anymore. The baton has been passed to me. For Thanksgiving I was tasked with making pies and rolls for our family gathering. I went looking for an easy recipe as I would be making them Thanksgiving morning, with not a lot of time to spare. Most of the kneading for these rolls is done in a stand mixer. Then it's a matter of letting the dough rise, shaping the rolls, and rising again. I accomplished other chores while the rolls were rising. The rolls were light, fluffy, and, oh, so, buttery. We had a large crowd for Thanksgiving so I made two batches of the rolls. There were only 6 or so left after dinner. This is a keeper recipe! Mom loved them and Grandma would be proud!
Buttery Crescent Rolls
1 1/4 cup warm water
4 teaspoons active dry yeast
3 tablespoons softened butter
2 eggs
1/3 cup sugar
4 1/2 cups all-purpose flour
1 teaspoon salt
1/2 cup softened butter
2 tablespoons melted butter
Combine water, yeast, 3 tablespoons softened butter, eggs, sugar, salt, and 3 cups flour in bowl of a stand mixer. Mix, using dough hook, until combined, on low speed. Continue mixing about 5 minutes, gradually adding in the last 1 1/2 cups of flour. (Dough should pull away from side of bowl). Turn dough out onto floured surface and knead 4-5 times and patting into a ball shape. Cover with kitchen towel and let rise 60-90 minutes, until doubled in size.
Divide dough into two pieces. On a lightly floured surface, roll one piece into a 12-inch circle. Spread 1/4 cup softened butter on the circle. Slice each circle into 12 triangles (I used a pizza cutter). Roll each triangle up from the outside edge, forming a crescent shape, slightly curving the ends toward the middle. Place on a parchment-lined or greased 12x17-inch cookie sheet (jelly roll pan). Cover with kitchen towel and let rise again for about 45 minutes, until puffed and light. Repeat with remaining dough ball.
While rolls are rising, preheat oven to 350 degrees. Bake for 15-20 minutes until tops are golden brown. Brush melted butter on tops of rolls.
Recipe adapted from Its Always Autumn.
I've not started Christmas decorating yet. I'm one of those who has to let the Thanksgiving turkey dinner settle a bit before I can tackle that chore! However, I'm a pretty organized person and I'm almost done with Christmas shopping ( 2 more gifts to get!) I've also started on doing the gift wrapping. In connection with that, I've completed the gift tags that will go on this year's packages. They compliment the gift bags that I previously shared.
 Yes, it would easier and more cost-effective to buy gift tags. I have an urge to create and design and this little project helps satisfy that urge. I make them in steps, doing a little at a time when I have a few spare moments. One of my favorite parts of the Christmas holidays is a decorated Christmas tree with pretty packages underneath its branches. My homemade gift tags add a little extra to my packages!
For this year's tags I used a few different shaped wreath stamps. Using my Silhouette machine I cut out the tag shapes, one slightly larger than the other, and glued together. I dabbed (is that a word?) red ink along the border of the white tag to add a little color and dimension. A little twine bow and all is done!
Yes, it would easier and more cost-effective to buy gift tags. I have an urge to create and design and this little project helps satisfy that urge. I make them in steps, doing a little at a time when I have a few spare moments. One of my favorite parts of the Christmas holidays is a decorated Christmas tree with pretty packages underneath its branches. My homemade gift tags add a little extra to my packages!
For this year's tags I used a few different shaped wreath stamps. Using my Silhouette machine I cut out the tag shapes, one slightly larger than the other, and glued together. I dabbed (is that a word?) red ink along the border of the white tag to add a little color and dimension. A little twine bow and all is done!
Christmas Day is 7 weeks from today. Yikes! Now that Halloween is over, I am finding that many people are already decorating for the Christmas holidays. I'm not ready to decorate yet, I like to celebrate Thanksgiving first! We can't overlook the turkey and pumpkin pie! However, I have been working on getting ready for Christmas for a while now. I'm about 2/3 done with my Christmas shopping. My wrapping paper and ribbon supply has been replenished and I've been working on making Christmas gift tags. For small items and gift cards, I use decorated bags that coordinate with the packages under the tree. I've finished making this year's bags and have some with gifts inside, ready to go under the tree. This year my packages will be wrapped with brown and red kraft paper and coordinating ribbons. The gift tags I'm making have small wreaths on them so it made sense that the gift bags did, too. I found an inspiration picture from Papertrey Ink and made my own version, using standard kraft lunch bags.


Like most paper projects, these bags involved various, but easy, steps. First up was to make small tags and embellish them. A simple wreath and berries were stamped on the bag, then snowflakes and a peppermint border were stamped and embossed. A little ribbon and the cute gift bags were done! I have a small TV in my craft room so usually do projects like this with football or the Food Network on in the background. It goes fast!
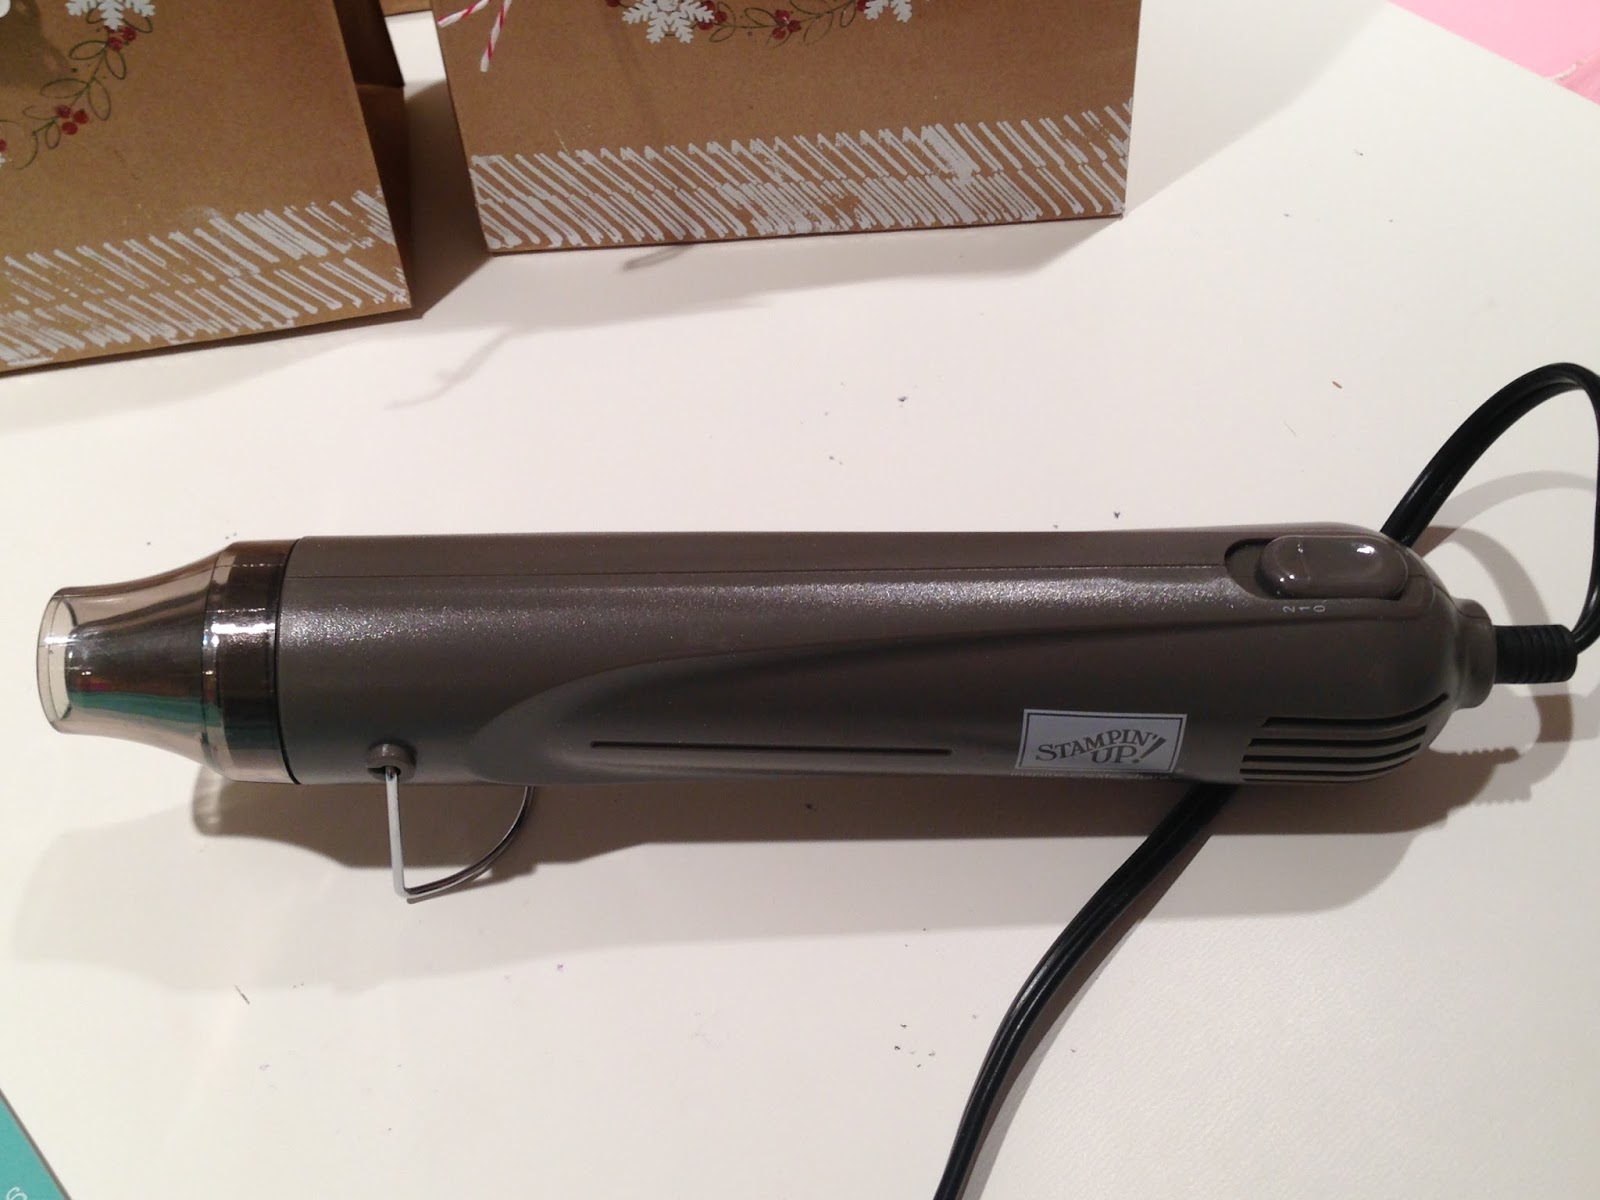
This project involved learning a new technique for me, embossing. It was much easier than I thought it would be. Using a special ink pad, an image is stamped on the paper. Embossing powder is sprinkled over the wet image, then an embossing heat gun is used to form the embossing. It was so cool to see this happen, in just a few seconds I had a raised image on the paper. I can see myself using this technique a lot in the future!
As I was doing the embossing my husband came in to my craft room and inquired as to what I was doing (it sounds like a blow dryer). I showed him and he asked when I had acquired the embossing gun. This from a man who has a garage full of tools and brings a new one home after each Home Depot trip! I told him "you have your tools, I have mine!"
Some people have alcohol, drug, or gambling addictions and there are recovery and self-help groups for such people. My addiction is much more mundane; I can't resist a cute baking pan. I've yet to find a support group for my addiction. Thank goodness this addiction is not physically damaging, my only dilemma seems to be where to store yet another pan. I say I have enough, that cute pans don't make things taste any better (though I think they must!), that I have no room for more pans. That resolve only lasts until I walk into a Williams Sonoma or Sur la Table store. Then my resolve starts to wane. I get nervous, I walk to other parts of the store, lest I be tempted. Sometimes I'm successful. But when I walk in, see a cute pan, and it's 40% off? Well, a girl can only be so strong! Yes, the pan came home with me!

In my defense, I do use my cute pans. The first use for this fall pan was a batch of Jalapeno Cornbread Muffins. They are just a slight variation from a basic cornbread muffin, but they are a little spicy (jalapeno), savory (cheese), and sweet (honey). Served with honey butter they are even better. Something about the sweetness of the honey with the spice of the jalapeno is amazing. I used one jalapeno, if you like things spicier, feel free to add more! As I served these with a bowl of spicy chili I knew we didn't need more heat!
These are very easy to make and it's hard not to eat just one. And, you have to admit they are cute!
Jalapeno Cornbread Muffins
1 cup all-purpose flour
1 cup yellow cornmeal
1/2 teaspoon baking soda
1/2 teaspoon salt
1 cup buttermilk
1/2 cup (1 cube) unsalted butter, melted
1/2 cup sugar
2 large eggs
1 tablespoon honey
1 jalapeno pepper, seeded and diced (more if you like more heat!)
1/4 cup shredded cheddar cheese
Preheat oven to 375 degrees. Lightly coat a 12-cup muffin tin with nonstick spray; set aside.
In a large bowl, combine the flour, cornmeal, baking soda, and salt.
In a large glass measuring cup or another bowl, whisk together the buttermilk, butter, sugar, eggs, and honey. Pour mixture over dry ingredients and stir, using a rubber spatula, just until moistened. Add the jalapeno pepper and cheese, and gently toss to combine.
Scoop the batter evenly into the muffin tins. Bake for 15-17 minutes, or until a toothpick inserted in the center of a muffin comes out clean.