Monday, May 23, 2016

Raspberry Rhubarb Almond Bars

I love raspberries (ok, I love every kind of berry!), rhubarb, and anything with almond paste in it.  Naturally, when I ran across this bar recipe, I knew I would have to make them.  What's not to love about a raspberry rhubarb jam nestled between layers of buttery, almond-flavored shortbread? They are so good!
 
 
The jam can be made ahead of time and kept refrigerated for up to 2 weeks.  I'm sure the jam would be good on toast or muffins, too. 

Like all bar recipes, this makes a lot of dessert.  They are great for potlucks and picnics.  I shared with neighbors and friends!

Raspberry Rhubarb Almond Bars

2 cups chopped (1/2-inch pieces) rhubarb (2 large stalks)
1 1/2 cups fresh raspberries
1/2 cup granulated sugar
1 teaspoon vanilla extract
2 teaspoons fresh lemon  juice

7 oz. almond paste
2 cups flour
1 cup powdered sugar
3/4 teaspoon salt
1 teaspoon baking powder
8 oz. (2 sticks) cold unsalted butter, cubed
1/2 teaspoon almond extract

Combine the rhubarb, raspberries, sugar, vanilla, and lemon juice in a medium saucepan over medium heat. Stir occasionally while it heats up and the sugar melts.  Once it comes to a simmer, lower the heat to medium-low and continue to cook the jam until the fruit breaks down, most of the liquid boils off, and it has a thick, jam-like texture (it will continue to thicken as it cools). Stir occasionally to avoid scorching. This should take 15-20 minutes.

Remove from heat and cool to room temperature before using. It can be made in advance and kept refrigerated for up to 2 weeks.

Preheat the oven to 350 degrees.  Line a 9x13-inch baking pan with foil, leaving an overhang on the ends.  Spray the foil with nonstick cooking spray.

Coarsely chop the almond paste into pieces and put it in a food processor.  Process in long pulses until almond paste is in fine crumbs, then remove it from the processor.

Place the flour, powdered sugar, salt, and baking powder in the processor, and pulse briefly to combine.  Add the cold cubed butter, and pulse in long pulses until the mixture is crumbly, but holds together if you press a ball of it between your fingers.  Add the almond paste crumbs and almond extract, and process in short bursts until it's well-mixed. (The dough will still be crumbly).

Separate out about 1 1/4 cups of the crust and set it aside for later.  Take the remaining crust mixture and press it into an even layer in the bottom of the prepared pan.  Bake the bottom crust for 15 minutes, until it is puffed and just starting to take on some color.

Spread the jam out into an even layer on the baked crust, and sprinkle the reserved crust mixture over the top (it will puff and spread as it bakes).

Bake the bars for an additional 30 minutes, until the filling is bubbling and the top crust is golden brown.  Remove from the oven and cool to room temperature.

Using the foil as handles, remove the bars from the pan and cut them into small squares. 

Bars can be kept in an airtight container in the refrigerator for up to a week.

(Recipe adapted from www.sugarhero.com).

Extra foil on the ends allows for easy removal of the cooked bars.

Thursday, May 19, 2016

Blueberry BBQ Chicken

It's blueberry picking time at the local U-pick blueberry farms in our area.  Last Saturday my granddaughter and I spent about an hour picking blueberries (and cherries!)  This was our second year to do so and she was quite enthused about going. We laughed and chatted, while getting a bounty for the freezer. It was very good Nana-granddaughter bonding time!


I made a pie with the cherries and froze most of the blueberries.  With the remainder I made this blueberry BBQ sauce that we used for chicken.  I found the recipe on the Big Green Egg website. We don't have a Big Green Egg but the chicken was easily cooked on our BBQ grill.
Oh, the sauce is so good!  It's very thick, sweet, with a slight touch of acidity, due to the vinegar.  According to the website, the sauce keeps for months when refrigerated.  I can't wait to have some on ribs!

Blueberry BBQ Sauce

3 cups blueberries
2 cups apple cider vinegar
2 cups granulated sugar
1 teaspoon salt
One 3-inch cinnamon stick
1 bay leaf
1/4 teaspoon red pepper flakes

Combine the blueberries and a little of the vinegar in a food processor.  Pulse the berries just to break them up.  You're not trying to achieve smooth berries at this point; you just want to get some blue juice flowing. In a Dutch oven or 4-quart saucepan, combine the pulsed blueberries and the remainder of the sauce ingredients. Bring to a simmer over medium heat and cook for one hour, covered.  Give it a stir from time to time to avoid scorching the bottom.

Remove bay leaf and cinnamon and carefully transfer the sauce to a blender.  Pull the little knob off the top of the lid and cover it with a dish towel to prevent a mess. (This resulted in a blueberry sauce-infested towel for me.  Next time I will process the mixture in batches to avoid overflow!) Blend the sauce to get it as smooth as you can, then strain through a fine mesh strainer.  Transfer strained mixture back to pan.  Cook to reduce the sauce by one-third.  The sauce should coat the back of a spoon and have the viscosity of maple syrup. Refrigerate overnight.

For the chicken, I had my butcher "spatchcock" the chicken.  This cuts out the backbone and sternum so that the chicken can be flattened.  (This can be done at home but cutting chicken isn't my favorite thing to do!)  Bring the chicken to room temperature and season with salt and pepper.

Preheat the grill to 350 degrees.  Place the chicken skin-side up on the grill and roast for 20 minutes, then begin basting with the blueberry sauce every 5 minutes for an additional 20 minutes of cooking.  After 40 minutes of total cooking time, turn the chicken over the caramelize the skin and baste the other side 10 more minutes. Using a thermometer, check the temperature of the thigh.  Once it's at 165 degrees, remove the chicken.  Let rest for 10 minutes, then cut the chicken into pieces.  Serve with additional sauce, if desired.


Monday, May 16, 2016

The Barn!

About 15 years ago, we bought some acreage in my hometown, about 20 miles from where we live now.  We wanted a little land, my husband wanted a shop building. So we met with an architect and began to set things in motion. But, we both found ourselves not being very enthused about the project and sat down one night to discuss.  We found out that we were pretty much on the same page.  Though the allure of having a large piece of land and the dreams of what it would all look like was nice, the reality wasn't so alluring.  At our age, we didn't want to be bogged down with such a huge financial responsibility, commuting to work wasn't appealing to us, and thinking about developing and maintaining eight acres to the standards we wanted was overwhelming.  We sold the land and remodeled our existing home.

We love our home, it has most everything we want and need.  We are blessed to be surrounded by wonderful neighbors.  We "only" have a two-car garage.  For most, that would probably be acceptable.  For a family with a race car, two motorhomes, a Harley-Davidson motorcycle, and nine bicycles...well, let's just say the garage gets crowded!  And that doesn't count gardening equipment, tool boxes, etc. ! My Hubbers loves to tinker in the garage and there was no room to do so!  While perusing Pinterest last winter I started looking at outdoor sheds, a place where we could store the gardening equipment and free up a little space in the garage. We contacted our contractor and made plans to proceed.  My only input was that I wanted it to look like a little barn and something that was architecturally pleasant.  One of our visions for the acreage we bought was a shop that looked like a barn. This is a much smaller version but I think we succeeded with the barn look!

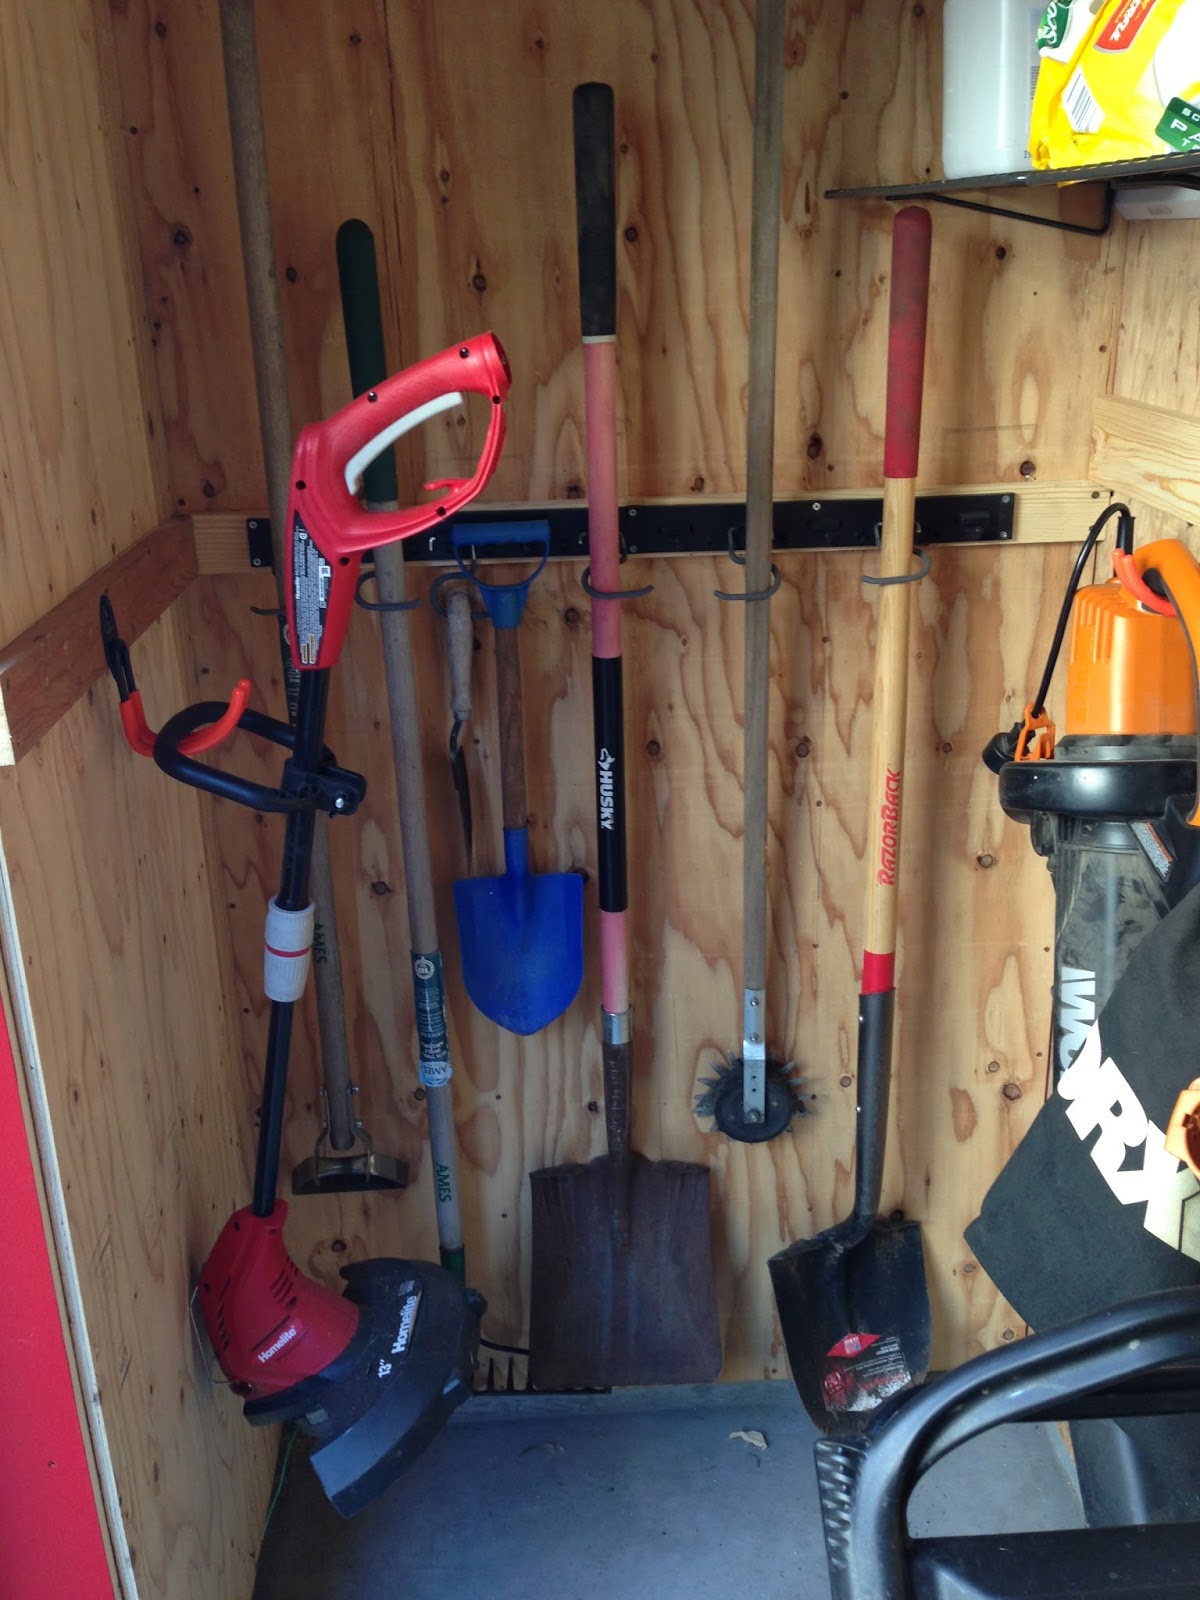
The "barn" is nestled to the side of our house. It is only 4'x9' but that ends up being a lot of storage space. It now hides the view of all the swimming pool equipment, which is an added bonus! Prior to the barn being here, we had 2 chairs and a small table in the spot.  It was a nice shady place to sit in during the late afternoon but it wasn't used very often. The barn is a much better utilization of the space.

A barn isn't complete without a flag so we hung up a small wooden flag.  A galvanized wash bucket, planted with flowers, softens up the area a bit and adds to the ambience of the nearby porch.  I'm on the hunt for a few antique farm pieces to put out, too.
All our gardening items now fit in the barn.  The bikes are hung from the ceiling in the garage.  My Hubbers now has room to putz and putter!  We have a barn without the hassle of having to maintain all those acres of land!  It has all worked out!


I'm linking up to Inspire Me Tuesday! 

Thursday, May 12, 2016

BLT Salad

Now that the days are getting warmer, and daylight longer, we find ourselves spending much more time outdoors in the evening.  We may be taking a walk with Harley, working in the yard, or just enjoying the yard. I love to end my evening, in one of our outdoor chairs, with a book on my iPad or doing a little cross stitching.  The scent of the flowers fill the air and watching the hummingbirds flit around never gets old for me. It's a very relaxing way to end the day!

All this time outdoors means less time in the kitchen.  We grill more and tend to eat lighter meals.  We both really enjoy salads and are very fortunate to have fresh-from-the-field produce available. We also enjoy bacon, lettuce and tomato sandwiches, as well as in salad form. I replaced the bread in the sandwich with farfalle (bowtie) pasta.  If you're watching your carbs, that is an easily eliminated ingredient.  The salad is refreshing, delicious and oh so easy to put together!

BLT Salad

Romaine lettuce
Cherry tomatoes, cut in half
1 avocado, diced
4 slices bacon, cooked and cut into bite-sized pieces
2 cups farfalle pasta
Ranch dressing (or dressing of your choice)

Cook pasta in boiling salted water.  Drain and rinse with cold water.

Combine first five ingredients; toss with dressing. 


Thursday, May 5, 2016

Margaritas (by the pitcher!)

Today is Cinco de Mayo, a celebration to mark the victory of the Mexican Army over invading French forces in the 1860's.  It's celebrated more in America than it is in Mexico, in no small part due to the marketing efforts of major beer companies.  Any occasion to have chips, salsa and margaritas works for me so we always have a little celebration! Tonight I will be making chicken fajitas.

I enjoy having cocktails to serve guests but I don't enjoy having to take the time to mix one drink at a time.  I would rather spend time with my guests than playing bartender.  My solution is to make drink mixes ahead of time, so that all that needs to be done is add ice and garnish. Much easier! This margarita recipe makes a big pitcher, easily enough for 10-12 people. I wet the rim of the glass with lime juice and salt, add ice, the mix, and a splash of Grand Marnier. The fresh citrus juice in these margaritas make them so much better than bottled mixes. Yum!  It's the perfect drink for your Cinco de Mayo, or any other, celebration!


Make-Ahead Margaritas

6 cups tequila
2 1/2 cups triple sec
2 1/2 cups fresh lime juice
2 1/2 cups fresh lemon juice
2 cups simple syrup**

Mix all ingredients together in a gallon container.  Refrigerate until chilled.  When ready to serve, pour mixture into a glass (salted rim is best!) filled with ice.  Top with a splash of Grand Marnier, if desired.  Garnish with a lime wedge.  Enjoy!

**Simple syrup

Combine 2 cups sugar and 2 cups water in small saucepan.  Stir until dissolved.  Bring to a boil.  Let cool.

If you do a lot of citrus juicing, an electric juicer is the only way to go!


Monday, May 2, 2016

Strawberry Pie - Two Ways!

Grandma always made a creamy fresh strawberry pie, thickened with the addition of slightly congealed strawberry jello added to whipped cream. In the spring this pie was often on her dessert table. My son likes the strawberry pie similar to what you find in restaurants; those pies piled high with halved strawberries, in a thickened sauce. I found myself making that pie more often, to please the people who lived in my home.  I remember one Easter I made that pie.  Grandma was disappointed, told my Mom I should've made her recipe! Oops, can't please everyone!
I found myself reminiscing about Grandma's strawberry pie so set about making one.  It is no more work to make two baked pie shells than it is one, so I made two pie shells and two pies.  My son got his favorite version of strawberry pie delivered to his house. Mama still knows how to please her boy! My husband and I enjoyed the creamy strawberry pie. Both pies are good, both easy to make, the strawberry jello in both make for nice flavor and little work.  They are both a quick, easy and delicious fresh dessert!

 Grandma's Strawberry Pie

1 small box strawberry jello
1/2 cup sugar
1 pint whipping cream
1 pound fresh strawberries, chopped
1 baked 9-inch pie shell

Dissolve jello in 1 cup boiling water. Let cool until it begins to congeal.  Whip cream until thickened, but before stiff peaks form. Add sugar and beat in. Add jello mixture, beat until stiff peaks form. Fold in chopped berries.  Pour into pie shell and chill for at least 2 hours.

Glazed Strawberry Pie

1 cup sugar
3 tablespoons cornstarch
1 cup water
3 tablespoons strawberry jello
2 pints strawberries, stemmed and halved
1 baked 9-inch pie shell

Mix the sugar, cornstarch and water in saucepan.  Stir constantly, cooking until thickened.  Remove from heat; stir in jello until dissolved. Pour over strawberry halves; mix well.  Pour into pie shell; refrigerate until set.  Top with whipped cream, if desired.

Tuesday, April 26, 2016

The End of an Era

We really don't understand, until we are much older, how people, events, a lifestyle, influence our future.  My Dad has always been an auto mechanic, engine builder and drag racer. From a very young age I've been following in his footsteps at the drag strip and at his shops.  Dad can be rather old-fashioned, even chauvinistic at times, so my knowledge of auto mechanics is limited, he didn't spend much time teaching me those things.  Instead, I was always tasked with the "girl" duties of bookkeeping and tending to office matters.  By the time I was in junior high I was doing much of the business' bookkeeping functions, turning over the books at the end of the month to the accountants' office. Is it any wonder that I became a CPA?

I love drag racing and rarely missed a race. We have traveled all over the country, our family vacations were spent at drag strips. Eventually, I was able to get my own race car, following in the family tradition. My son now drives, the third generation in our family to do so.

For the last almost-twenty years I have spent my Fridays at Dad's shop, doing his accounting work, ordering parts, cleaning cars, loading trailers, whatever it took to keep the race operation running smoothly. As he has aged and slowed down, so, too, has the business.  My all-day Fridays became an hour or so after my 5:30 a.m. Pilates class.  I loved my mornings at the shop, it was quiet and the smell of grease and oil are like the smells of comfort food to me.
Dad is now 84 and we recently sold the shop building. His last race car was sold a few months ago. Today I cleaned out the office, packing things away for storage and shredding. Dad's lifelong career is winding down.  My days of working in the shop are over. I'm finding the whole experience to be bittersweet.  The sale of the property has more than insured my parents' financial future but an era has ended for my family.