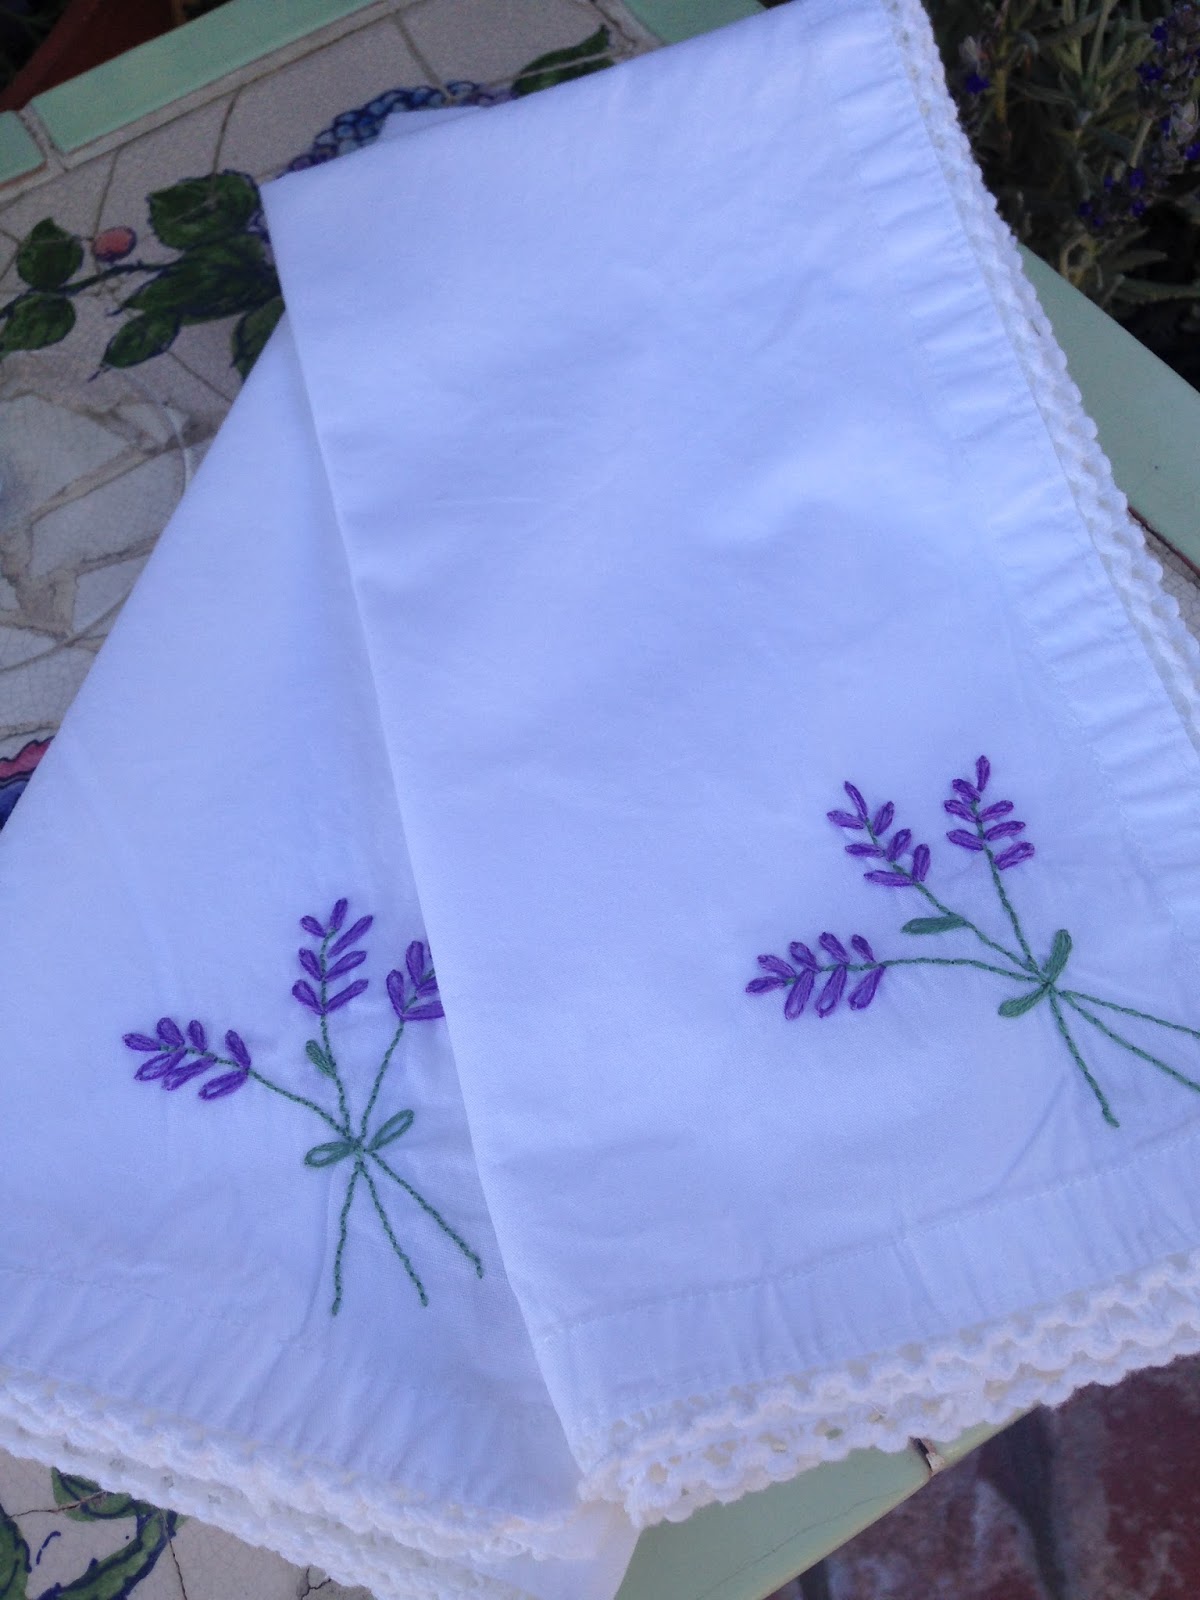
Whenever I see plain white napkins on sale I usually buy a few. They make a great medium for an upgraded linen. A little ric rac, lace, buttons, or embroidery and you have a beautiful, and inexpensive, table linen. They make great hostess, wedding shower, or wedding gifts. I think cloth napkins add so much to a table setting, it makes the dinner feel a little more special. I've been gathering items to do a lavender table setting (still looking for the perfect plates!) so wanted to do some embroidered napkins. I found a picture I liked, copied it and traced on the napkin. I started embroidering them on Super Bowl Sunday. Tax season got in the way and they sat in my craft room for a few months. Now that tax season is over, I whipped six of them out in a matter of hours! Super easy and very pretty!


I have an Amazon credit card and use it for everything; groceries, clothing, travel, etc. I log online every few weeks and pay the charges so I don't incur interest (heaven forbid an accountant pay finance charges!) The bonus for doing this is the Amazon points I accumulate. I use these points to buy items that I wouldn't ordinarily spend money on, they are kind of my "splurge" points. With some of my points I bought this light box. The rendering you want to trace is placed on the box, the light backlights it making it easy to trace the design onto fabric or paper. It made tracing my design on these napkins so easy!
I've made two jelly roll quilts that will be part of the pile of Christmas presents our granddaughters will have under our tree. I wanted to personalize them to make them more special. The girls are only 5 & 8 so I don't think they will appreciate (yet) the time & love that went into their quilts but they can read my sentiment every night and know that their Nana loves them!
To make my sentiment I found a font on Word that I liked (Lucida Caligraphy) and sized it to fit the design. If you don't like any of the basic fonts there are plenty of sites on the web that have free downloadable fonts. I was too lazy to do that. If you have nice handwriting you can do your own. That would probably be more special but 30 years of signing tax returns has reduced my once nice handwriting to more of a scribble!
I printed my words on a plain piece of paper and taped to a window (no fancy equipment here, trust me this works!) The light coming through the window makes a great tracing medium.
Then place your fabric over the printout. I used painters tape as it doesn't leave a real sticky residue. I used a washable marker to trace the sentiment. The markers can be found in the sewing section of any hobby store. I used a simple back stitch to embroider, using two strands of floss. When done I rinsed the fabric out and the marker was gone. Do not iron until you have rinsed your fabric, ironing will set the marker. No need to ask how I know this.
Now is when I got really technical. To make the heart shape I used one of my cookie cutters. Creative gadgets are everywhere!
I used a fusible web, that is made especially for appliquing, and ironed the heart onto the quilt top. Using the blanket stitch on my sewing machine I sewed around the edges.
I'm so happy with how they turned out! Now it's time to take them to be quilted. I need to get busy and find more fabric as I have one more quilt to get done! So many projects, so little time!